The thought of starting to organize your photos is overwhelming and the project hangs over your head, but hasn’t been made a priority to conquer. Here is a start to making sense out of your printed photos!
“We’ll get doubles printed!” Remember that line? We’d all gather into the photo and instead of handing the stranger five different cameras, we’d promise to get doubles printed. Now, when I sort through my photos I can’t believe how much money we spent on doubles and triples. And how many duplicates we’d take so be sure we got the best shot. Crazy to think our kids will never know there was a time when we couldn’t preview our photos before printing!
I remember taking three rolls of pictures from the nose bleed seats at the NSync concert. [yes, a huge fan of the boy bands] I’m sure my mom wasn’t thrilled to pay for three rolls of dark photos of a tiny figure on stage. And I had to get doubles of course!
I have moved boxes of photos from house to house and never took the time to sort and organize them so that they could actually be enjoyed. In our most recent move, several boxes sat unpacked for years before I finally forced myself to open them. It seemed like such a daunting task. When I finally opened the first box, I spent hours on the floor of the spare bedroom, laughing and gawking over memories that had been captured and forgotten. Pictures I’d never shared with my husband. [and honestly some I was ok not sharing with him]. The investment in photos, the investment in memories, that I was not cherishing.
There are many layers of photo organizing and decisions to be made. Such as:
♦ Scanning prints, converting VHS & slides
♦ Organizing prints so you can find them for special occasions
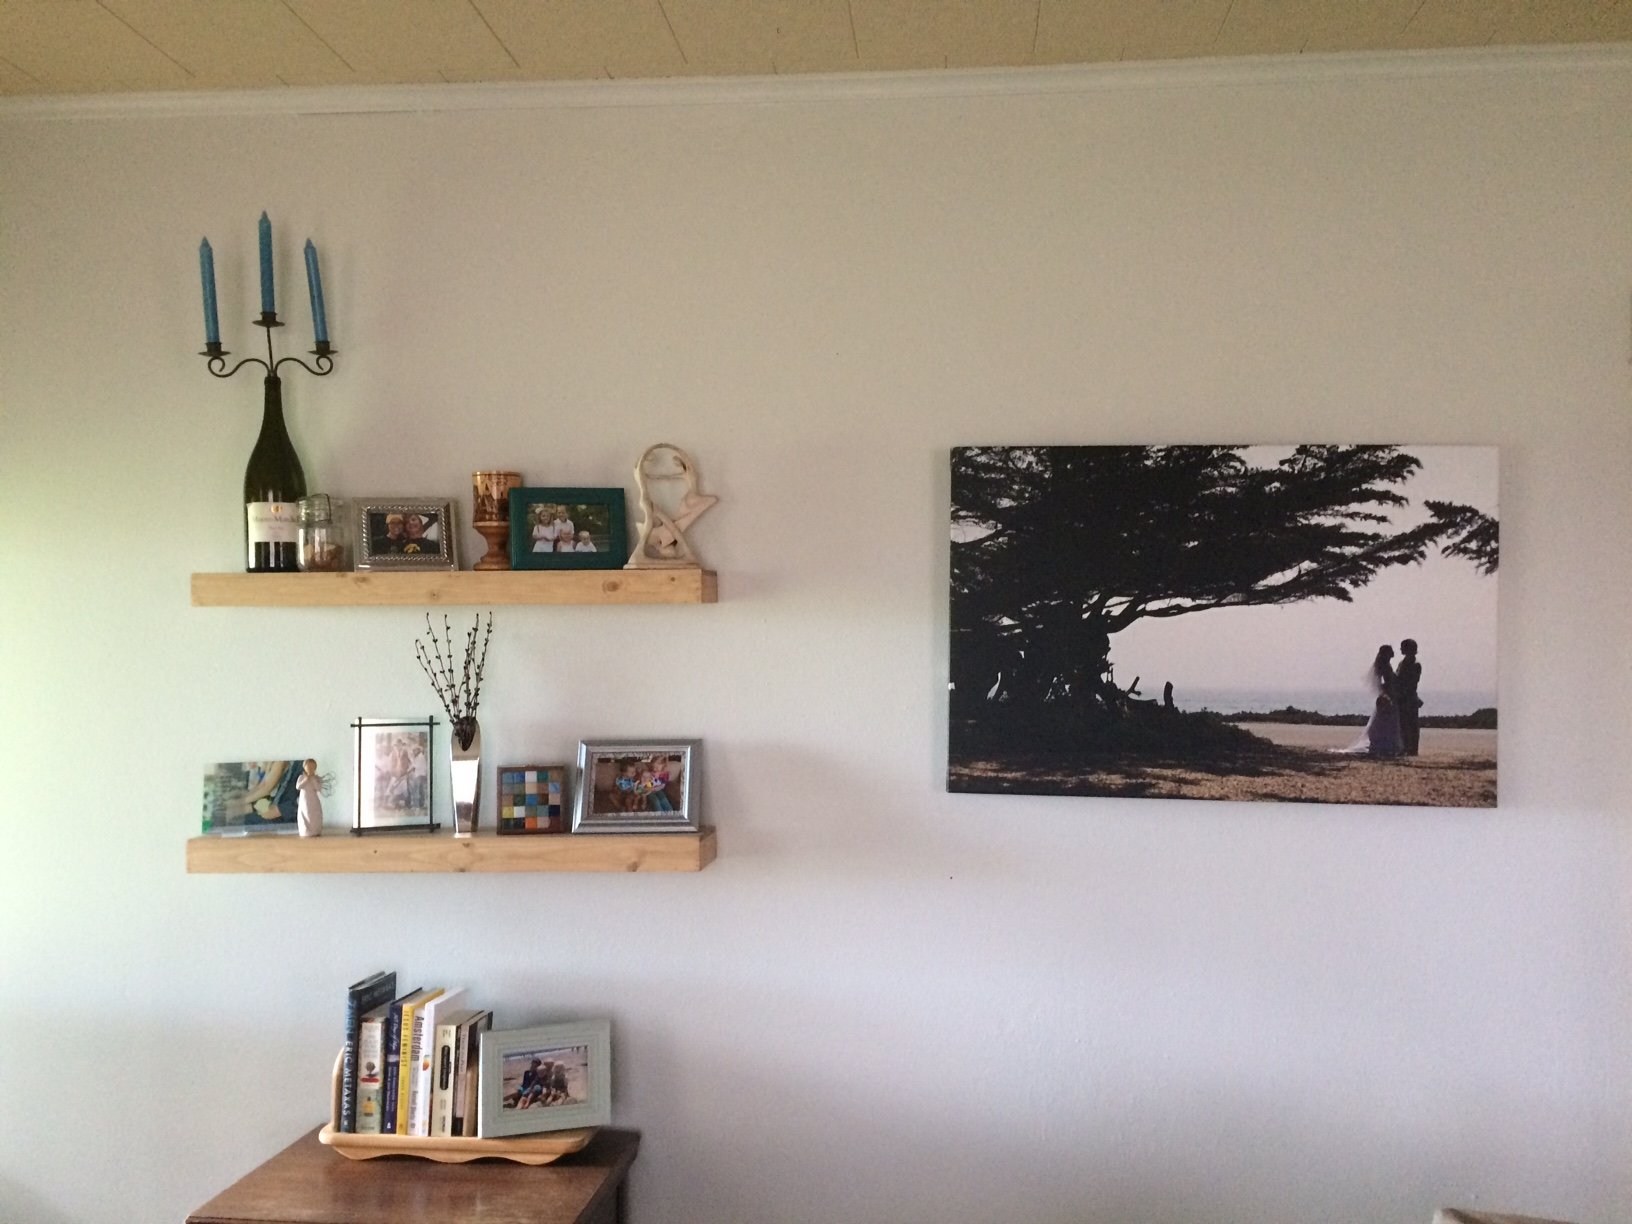
♦ Decorating the house with memories
♦ Getting desired photos into albums [traditional or printed]
This blog post will give you the basics of organizing your printed photos to start giving you an idea of how to manage the beast. Once you have them in a manageable place, you can make the choices as to what will be the final destination of your photos.
So, here’s how to make senses of printed photos in the memorable form of S words.
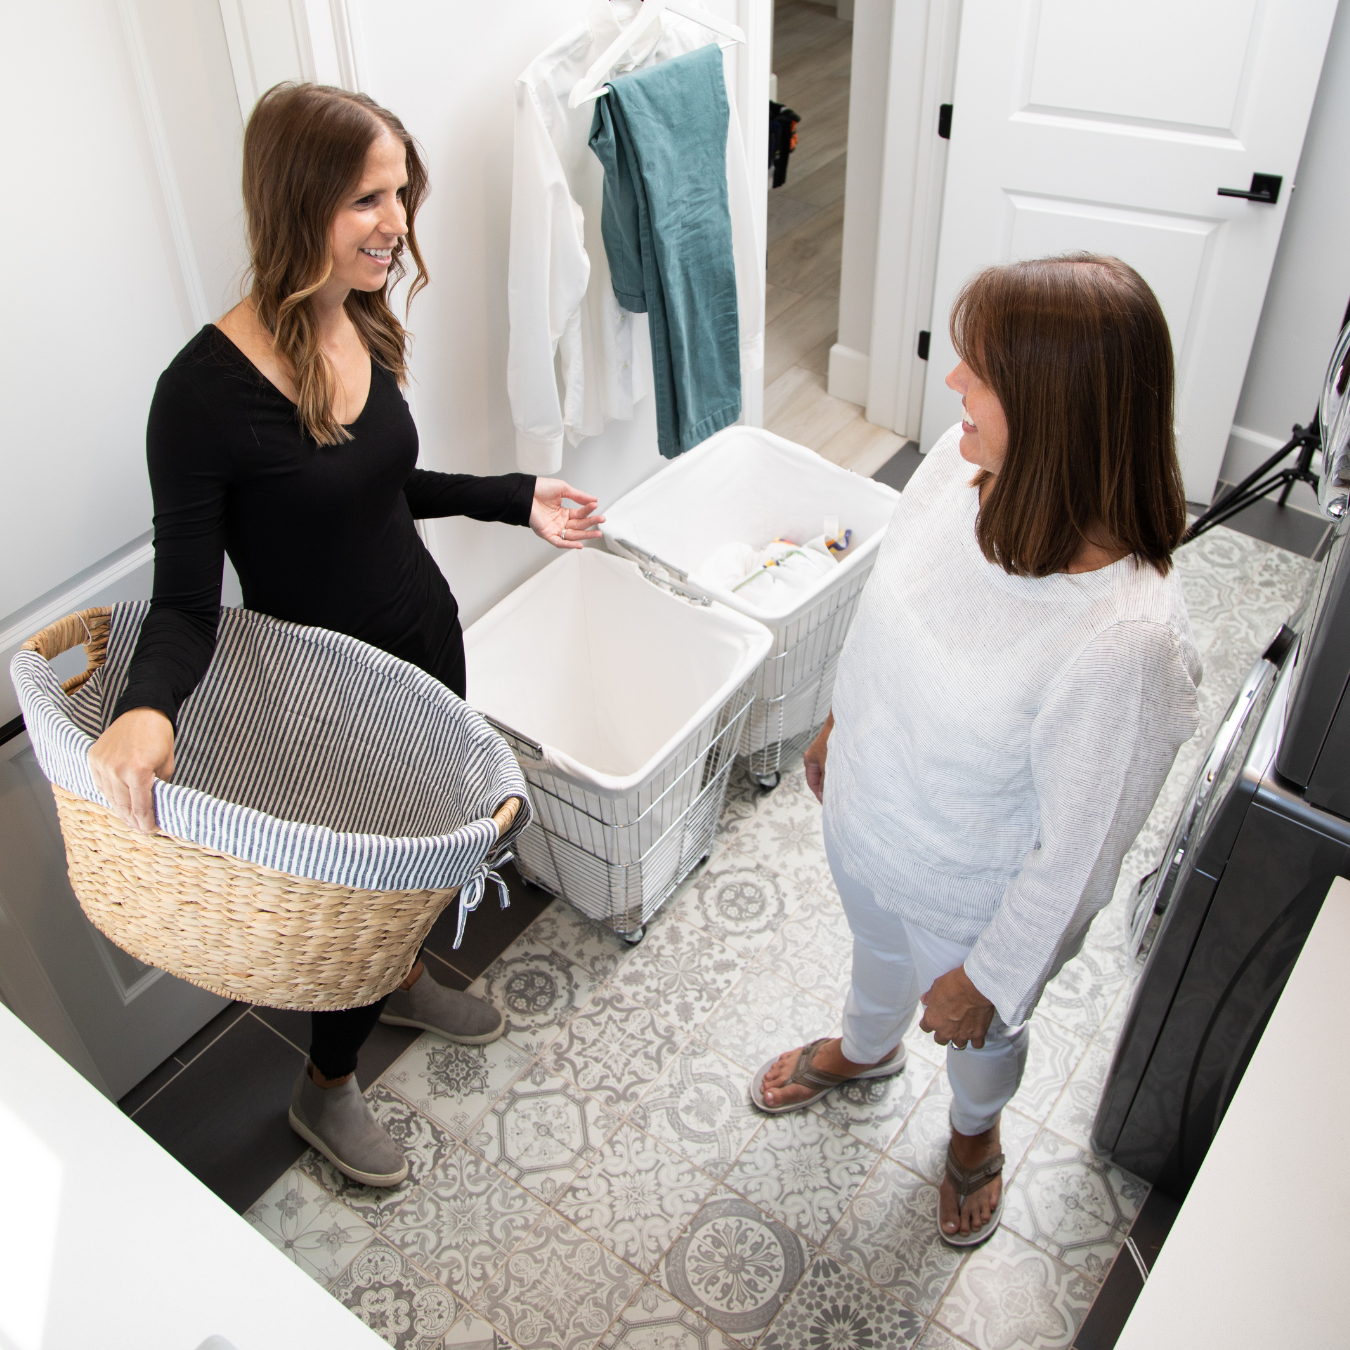
Sequester
Designate an area such as a spare bedroom. Gather and pull photos from all over the house, basement, attic, closet, etc. Do your best to not start looking through them yet, otherwise you’ll never get them all gathered. Some people can do this all at one time, but others need to do it over a period of time as they are downsizing, purging, or discovering.
Set
Get ready, set, go. Once all the photos are in a central location. You’ll need a trashcan and several shoes boxes or large envelopes, and sticky notes. It’s best if you have a large bed or extra table you can set up to work on. I’d recommend you SET a date for yourself to keep you on task as to when the initial sorting will be completed.
Simplify
Open one box/envelope/album of photos at a time and begin to weed out what to keep vs toss. This is the first level of taming the beast. It’s a hard truth, but there will be photos that you don’t need to keep! Photos to throw out are of: scenery, food, blurry, duplicates, have a finger over lens, negatives, etc. You don’t have to throw out every duplicate, but when you’ve taken 16 shots of your daughter in the pool, you don’t need every one.
Sort
As you’re simplifying, you can begin to determine how you’d like to preliminarily categorize the photos. Think of it in terms of how you will search for photos in the future. Will it be by date, occasion, family member? Personally I think date or life stage is the most universal, but it’s up to you. An easy way could be to sort by “early marriage years,” “pre kids,” “before I was born” etc. Then you’re not caught up in figuring out exact dates, yet.
Use shoe boxes or bins to keep the categories separate. Label the box with a sticky note or tape. Don’t get stuck on the category thinking it has to be permanent and the exact year, it’s just a start to begin to make sense of photos. Don’t worry about if it’s a professional photo or what size it is. Just sort by category.
If you have slides, negatives, or VHS you need converted to view, put those in a separate pile. Your local photo store maybe be able convert them, or Forever is a great cloud based system for getting images converted to digital a format.
Sorting can take a long time. I’d recommend you set the timer for 30 minutes at a time and dedicate time each day to the task. It’s fun to reminisce with old photos, but if you want the task to get done, then remind yourself that eventually these photos will be so organized you can enjoy them in the future. [you haven’t looked at them in years…what’s a few more days/months]
For some people this is where they still stop. They will put there photos into boxes, label them with dividers or sticky notes, and call it good. Or they’ll scan in what they have and keep it on the computer for sorting digitally, on a rainy day. And that’s ok.
Other’s will want to go a step further to get a them settled once and for all.
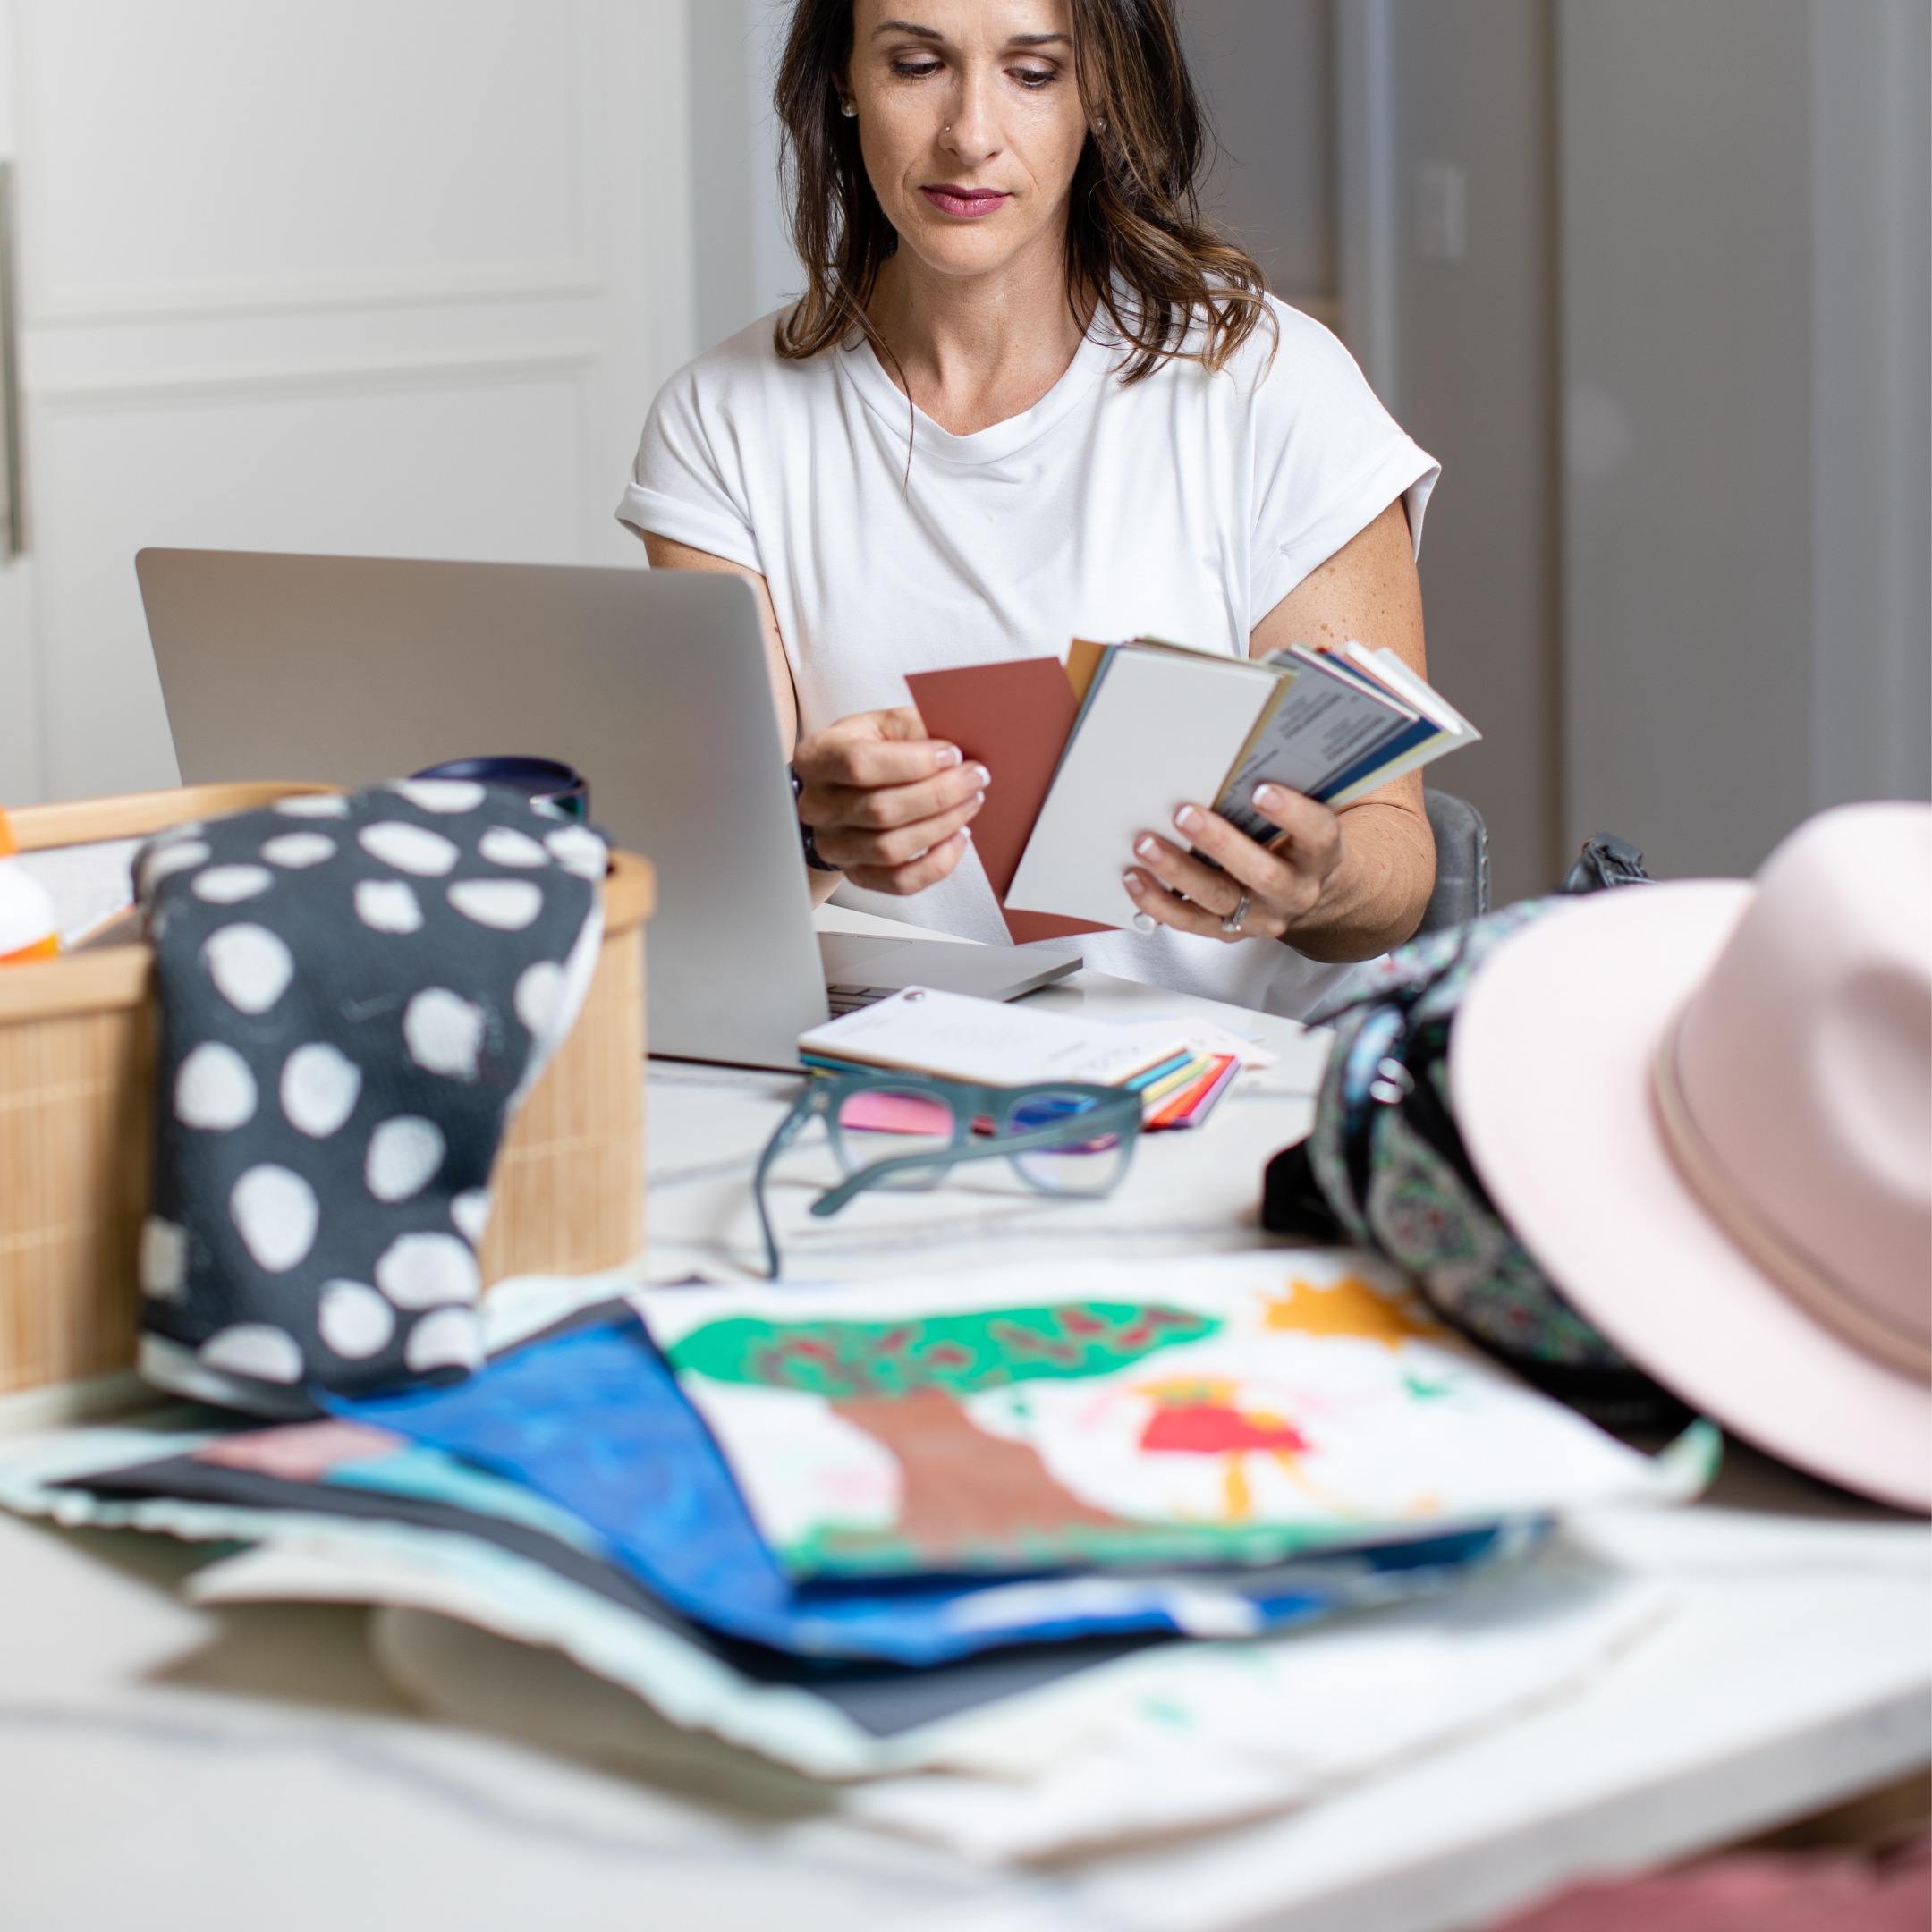
Solidify
For this step you’ll need a large notepad. This is the part where you can plan what your end result will be. Survey the categories you’ve loosely put your photos into. Now you can see how many photos you have and which categories are the largest. Consider again:
♦ How you will want to enjoy the photos in the future?
♦ Will they be enjoyed more if they were scanned in and shared?
♦ Will we look at them more if some are in an album?
♦ Will we be able to easily celebrate our 40th anniversary if we have them categorized and labeled in boxes?
♦ Will our kids and friends know what the photos are of, once we are gone?
First thing to determine is: Do you want to digitize the photos? If so, do you prefer to sort A: on a computer or B: physically? This will determine your next steps. Or if you don’t want to digitize photos, go to B.
A: If you prefer to sort on the computer, then you don’t need to sub-categorize any further and can send them off to be scanned in, or scan them yourself if you have a high quality scanner. Your local store may scan photos or I recommend using Forever. It is a web-based platform that allows you to access your scanned photos from any computer or mobile device, is as secure as a bank, and will be around for generations to come because it has an endowment in place. But that’s just my short plug for them. I can get you started if you like having help.
B: If you prefer to sort physical, printed photos [or don’t want to get images scanned at this point] then you can map out on your notepad the categories that will be best for you. I recommend doing things by the year. On the label or legend you can have the occasions that took place in that year [Johnny’s first day of kindergarten, Sally’s birth, trip to Hawaii] for easy reference. The only reason you’d pull out any more detailed categories is if you know you will be created an album for a specific purpose. [such as professional school pictures or great grandma’s life]
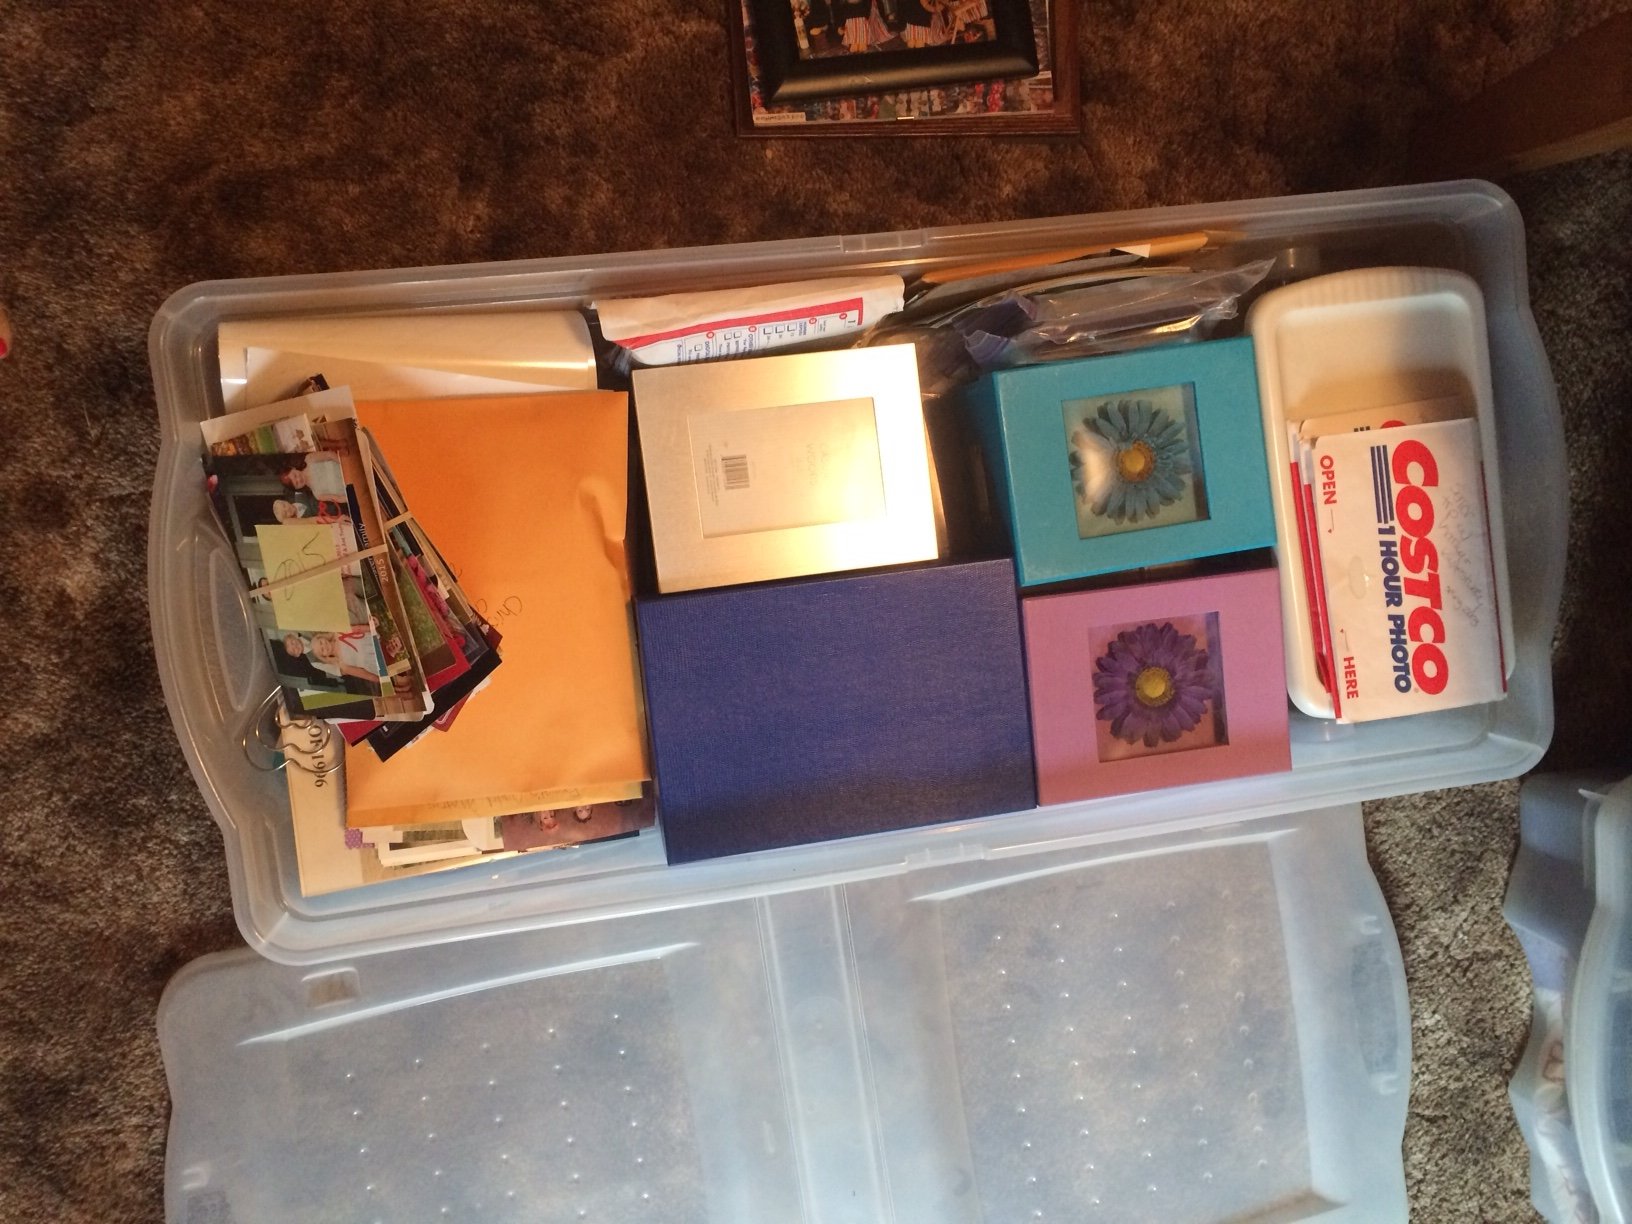
Once you have the categories determined, write them out on sticky notes or dividers and assign the boxes. For longterm storage, you can purchase a photo box. I prefer plastic bins because it seems less likely to get any moisture and the lids are clasped on if they get knocked over, but some photo guru’s like the coated cardboard ones. Consider the size based on where they will be stored and how they need to stack. They should be stored in a cool, dry place, up off the ground.
I’d SET a new date for when you want the photos to be in the boxes and back on the shelf, nicely organized. Or when you want to get them in the mail to be scanned. Photo organizing can seem to be a daunting task. But the peace of mind is priceless once it’s completed!
Learn How to Organize Your Digital Photos in this alternate post.